
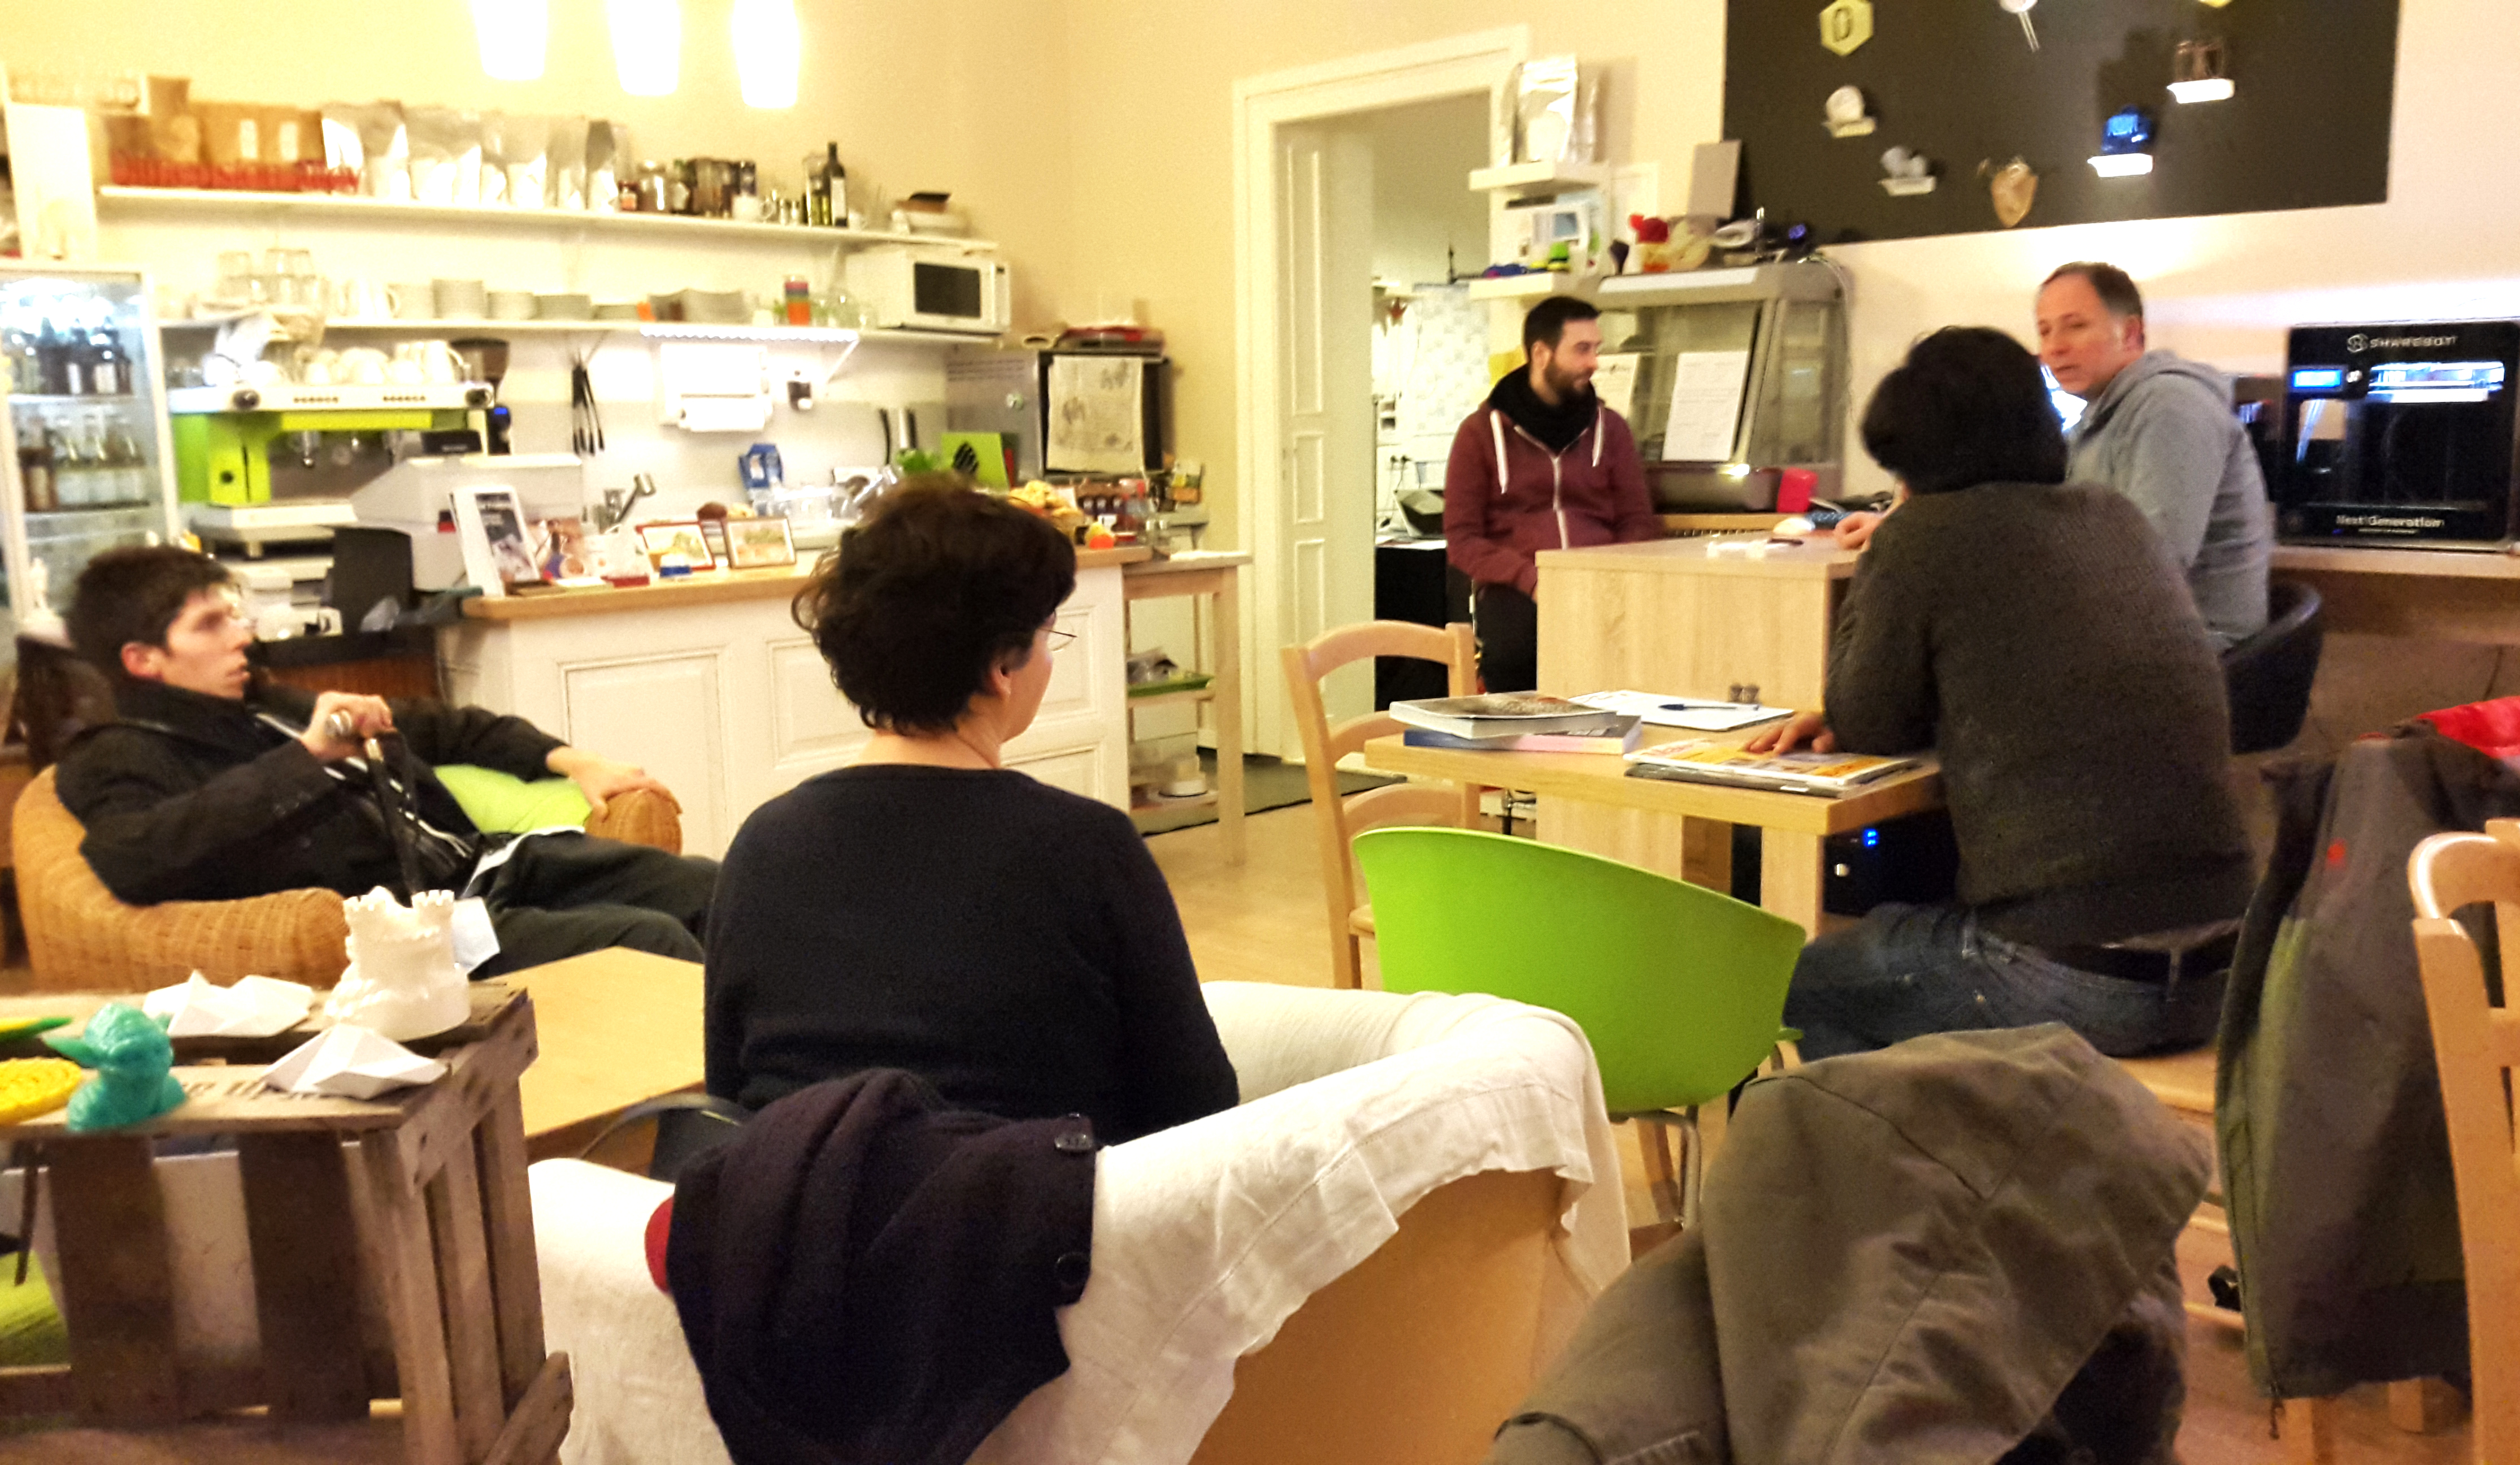
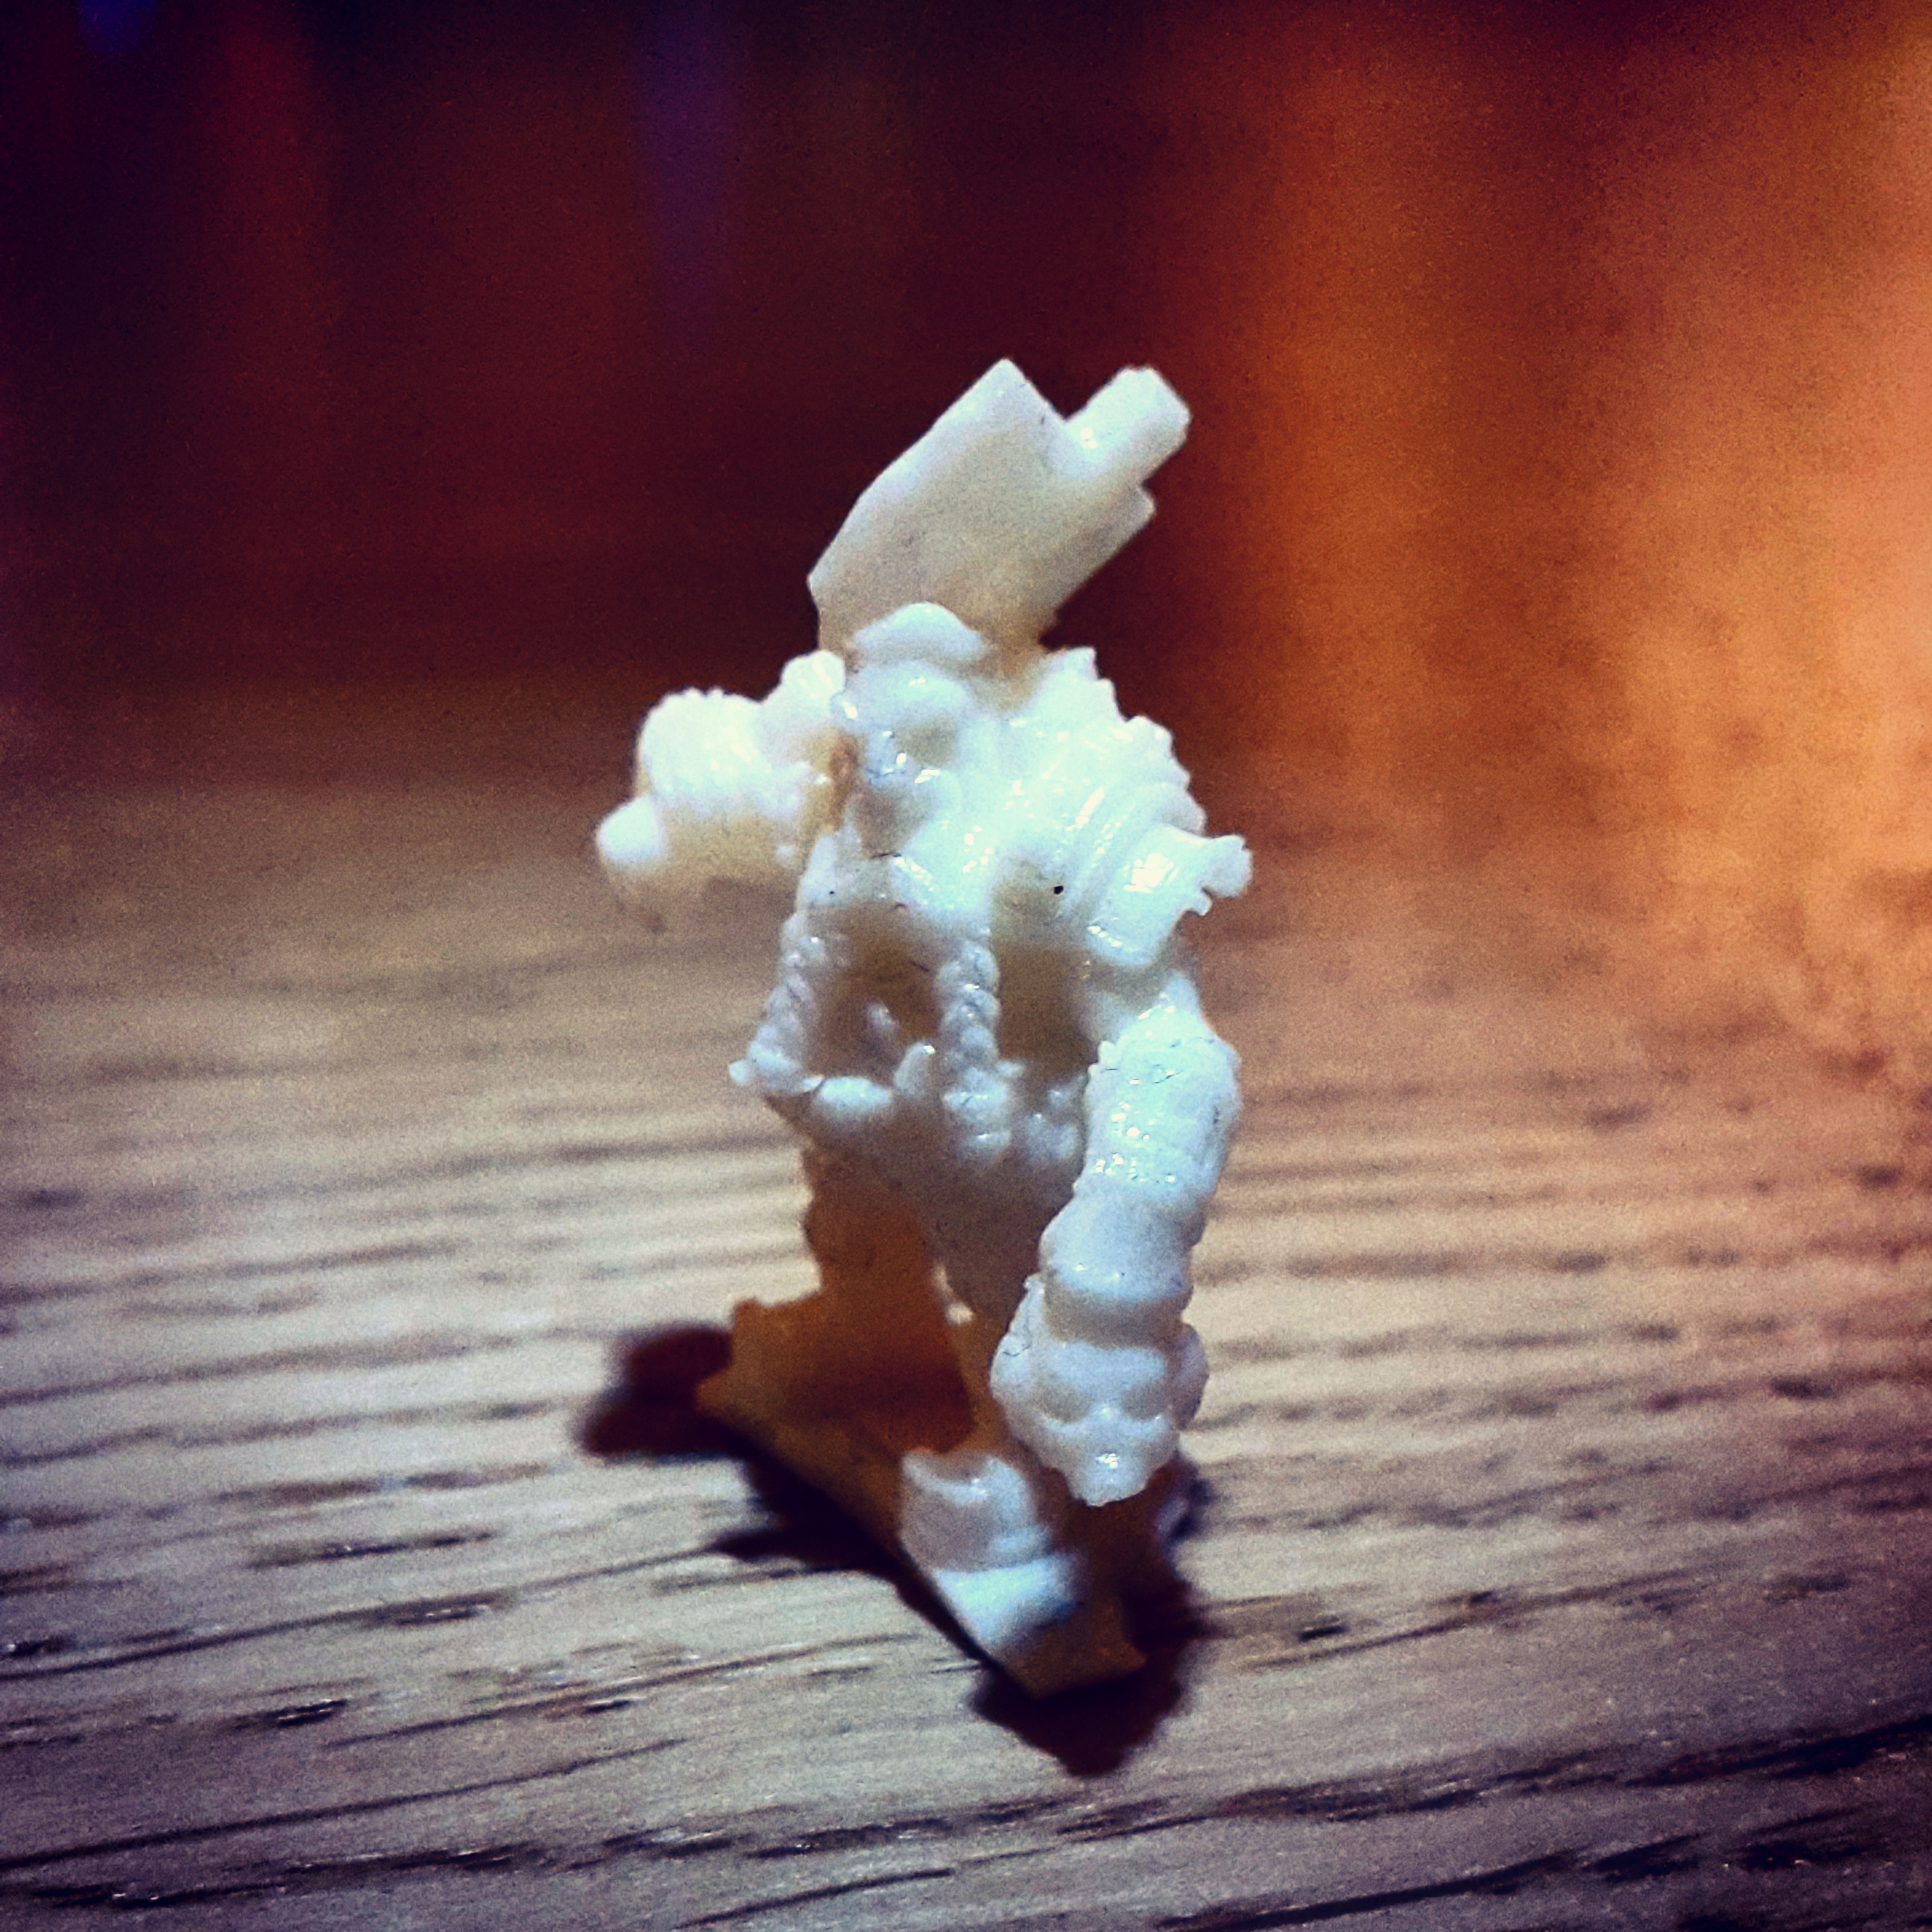
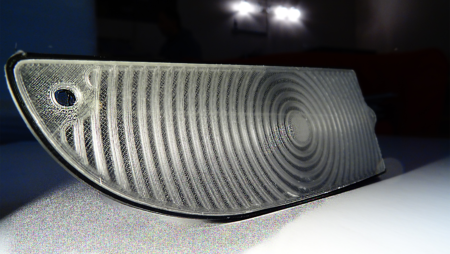
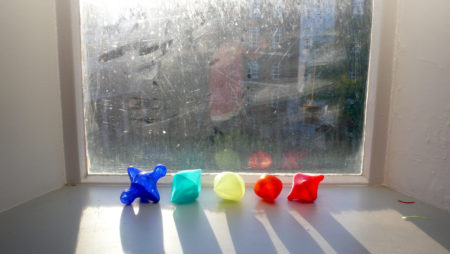
Welcome to our Feature Friday No. 8. Since we had such a great time with our DLP printer and our little DLP warrior at our open evening on Wednesday we want to continue last week’s blog post about “Metal 3D Printing” by taking a closer look at the DLP technology.
DLP stands for Digital Light Processing and it is an additive manufacturing method that was invented in 1987 by Dr. Larry Hornbeck of Texas Instruments (Source: 3dprinterworld.com). The process is based on photopolymerisation, a technique that solidifies photo-sensitive resins by the means of a UV light. In the case of DLP a vat of liquid polymer is exposed to the light from a safelight (light bulb). The images of the 3D objects’ layers are displayed onto the resin where it hardens. Subsequently the build plate is either pulled out of or down into the tank, which creates space for the uncured resin to form the next layer of the object.
For what can you use the DLP technology?
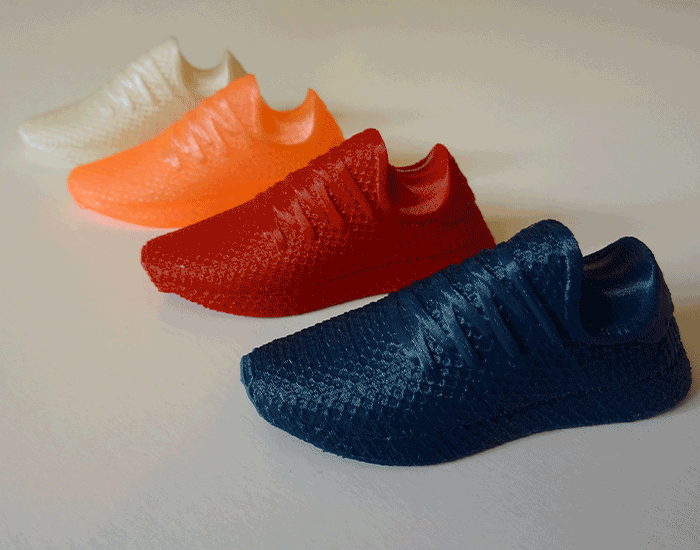
- Rapid Prototyping
- Function models
- Moulds for tooling and metal casting for e.g. jewellery
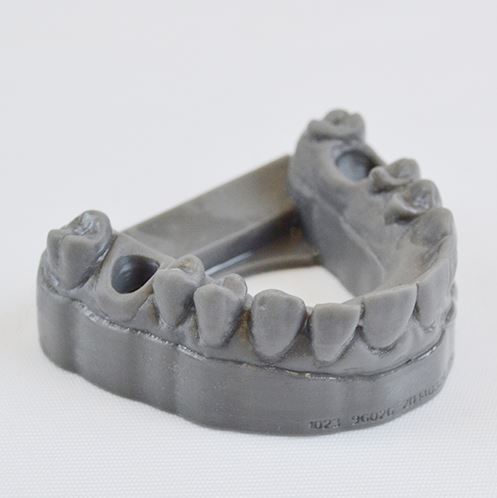
- Medical applications for e.g. hearing aids, implants and dental restorations
- Automotive components
- Aerospace components
- Dental restorations
What benefits does DLP offer?
- Shorter print times than point-by-point technologies, also independent of layer complexity and number of parts per build plate.
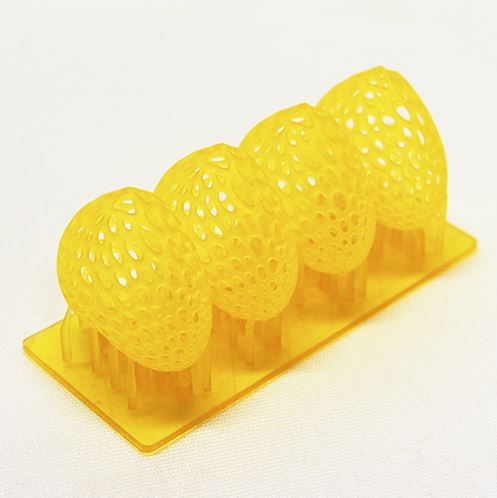
- Higher resolution of printed objects.
- Less waste and lower running costs due to the shallow vat of resin that is required to facilitate the process.
- DLP combined with the lost-wax casting technique* allows you to create metal 3D parts without investing in an expensive metal 3D printer.
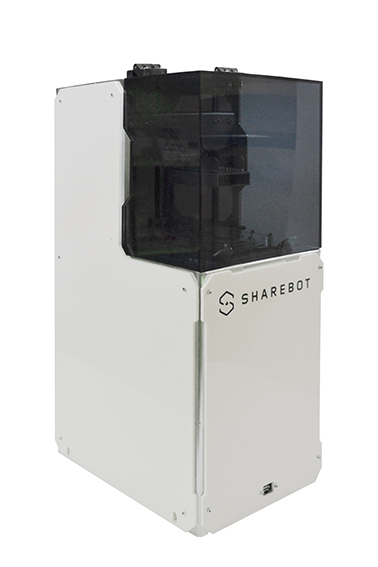
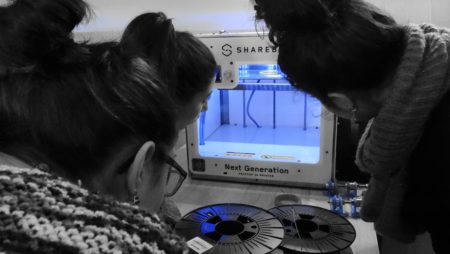
At DimensionAlley we use the DLP Printer Voyager from Sharebot especially for high-resolution and complex 3D objects. You want more information about the printing method and you missed our open evening this Wednesday, feel free to come by or text us. We will be glad to answer all your questions.
See you next week to a new episode of our Feature Friday and have a nice weekend!
*For the lost-wax casting technique you firstly print the 3D object as a wax model. This wax object can be used as a template to create a casting mould around it. Before filling the mould with silver or other metals, it is heated up so the wax is melting and can be released by a small hole.

No Comment
You can post first response comment.